How to Install the Tseason Sandwich Panel
I. Instruction
1 . This installation procedure is applicable to guide the construction process of on-site treatment and installation of Tseason sandwich wall panels. It is the primary guidance document for installing polyurethane sandwich wall panels.
Tseason offers three types of installation techniques
1. Online technical support
2. Sending technical engineers to guide the installation on-site
3. Sending engineering team for on-site installation.
More information Welcome to inquiry us
2. To ensure a smooth installation, Please carefully read this procedure and the project construction drawings before installing polyurethane sandwich wall panels and related trim accessories.
3. The safety shown in this installation procedure is basic information and does not include the extent to which it applies to the user and the size of the safety for each project. The contractor must check that architects and engineers have verified all safety devices and their load parameters and that they comply with specifications and the environment.
4. in conjunction with this installation procedure and the construction drawings, proper construction procedures and safety measures will ensure that the project will be completed at the lowest cost and with the most incredible speed and quality.
5. Any corrections and improvements to this installation procedure will be explained in future reprints and updated promptly.
II. Introduction of panel type
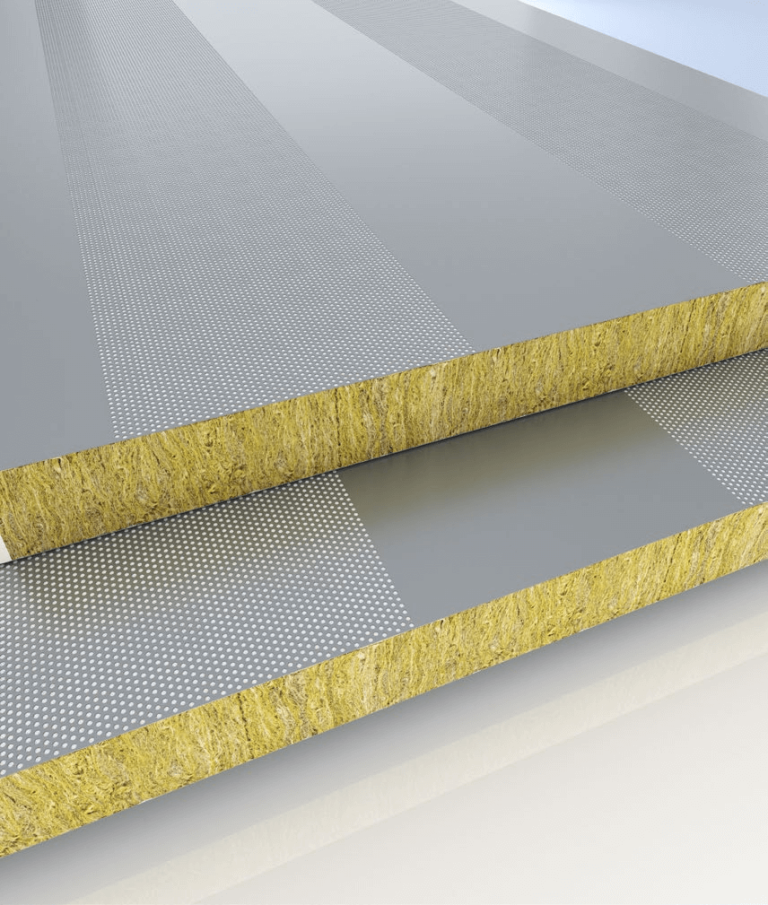
Polyurethane wall panels can be divided into polyurethane sandwich panels (PU/PIR), rock wool sandwich panels, and glass wool sandwich panels according to the different core materials.
Third, polyurethane sandwich wall panels on-site processing
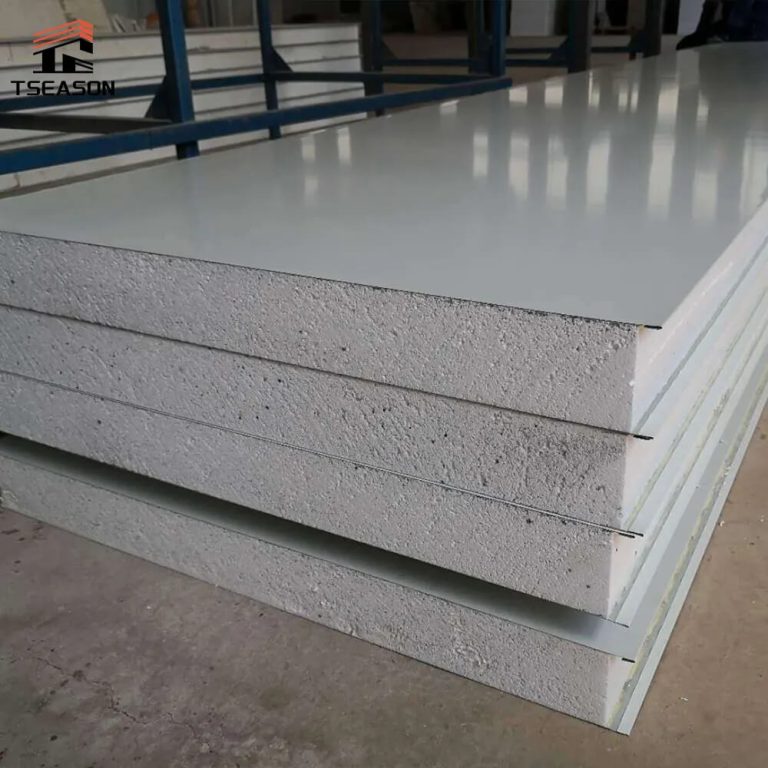
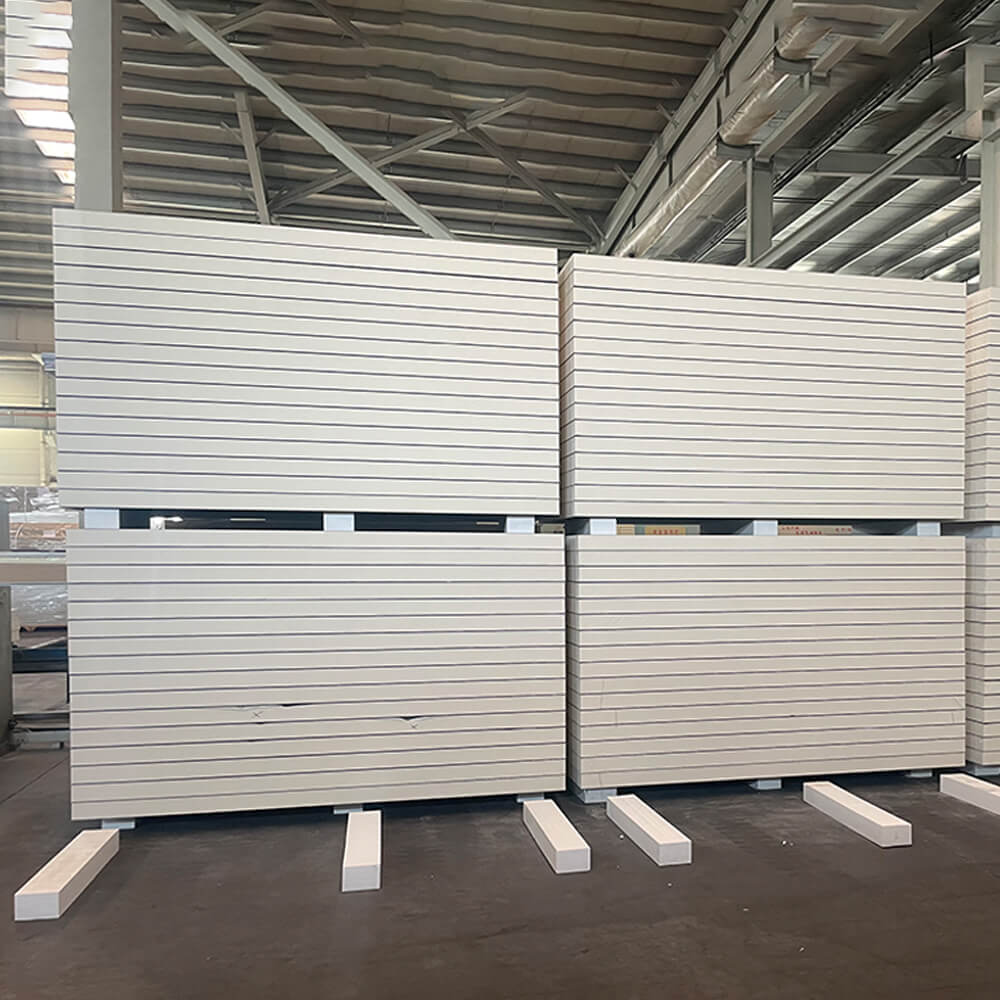
1、Stacking
A. The stacking place must be level, solid, clean, and ventilated. Stacking should be as close as possible to where the exterior wall panels are installed to avoid long-distance secondary transportation.
B. When stacking, pay attention to adjusting the height with sleepers so that the stacked wall panels have a tilt angle of 2~5°C. Even if water enters between the exterior wall panels, the water will not stay on the exterior wall panels. If placed outdoors, it must be completely covered with a tarp, and the core material for the core rock wool or glass wool wall panel end of the exposed part of the core material should be strengthened to protect the core material to avoid damage due to rain.
C. Exterior wall panels should be stacked away from other exposed steel to avoid corrosion on the corrosive Material floating down and attached to the exterior wall panels, which is difficult to remove and causes rust spots and penetrates the steel plate.
D. When the exterior wall panels are overlapped and stacked, each stack should not exceed two boxes, and no heavy objects should be placed on the exterior wall panels and stepped on to avoid damaging the finish or even the steel plate.
E. Polyurethane sandwich wall panels are wrapped with polyethylene protective film. The film should not be exposed to direct sunlight for a long time. Otherwise, the protective film will be difficult to tear off.
F. The edges must be neatly stacked, and if placed outdoors, they must be completely covered with waterproof cloth.
2、Handling
Manually handling the whole process requires the use of protective gloves and goggles. Single sheets of exterior wall panel handling, depending on the length of the board, need to be lifted by 3~5 people so as not to deform the exterior wall panels. In order to prevent damage to the interface, the interface should not be used as a stress point when picking up the plate. Don't drag the panel on the object's surface, and don't drag the panels to each other to avoid damaging the finish. Avoid bending when handling; bending will rupture the core material of the board and always deform the inner and outer surfaces.
3、Hanging
Bundles of exterior wall panels can not be lifted directly with hooks and exterior wall panels to form a triangle between the way lifting, but the project must be equipped with a spreader and spreader bar so that the sling and the exterior wall panels and spreader bar vertical lifting and should be looking for a good lifting balance point after lifting. To lift a single bundle carefully and gently, the exterior wall panel cannot be dragged.

Installation of polyurethane sandwich panels
Installing the color plate enclosure structure is a vital link; you must pay enough attention to the materials installed by different teams, which will have very different results!
One 、Handover inspection and installation preparation
A handover inspection: Check whether the purlin installation does not meet the conditions of the enclosure structure installation, including purlin positioning line offset, verticality, bending vector height, and installation of the construction requirements.
B. Material preparation: check the specification, model, quantity of wall plate, specification, and amount of connectors and fittings corresponding to the layout plan in detail.
C. Preparation of machinery: lifting equipment, portable tools, power connection devices, scaffolding, and other temporary small accessories.
D. Technical preparation: construction detail drawing, layout drawing, node structure drawing, etc.
E, site and temporary facilities preparation:
- Loading and unloading conditions
- Equipment walking routes
- Lifting the long position
- The horse road set up
- The construction road
- The location of temporary facilities
Before construction, there should be a specialized detailing staff for the construction technicians to carry out technical briefings to ensure the smooth progress of construction and engineering quality assurance.
2, plate bottom bracket installation
According to the construction drawings, to determine the installation of the beginning of the plate line elevation, alignment, leveling, installation of the beginning of the bracket, and bracket installation deviation for the entry and exit of ± 2mm, under the height deviation of ± 2mm.
Installation at the same time, such as the wall flooding pieces, is also installed upon completion of the installation.
Determine the installation of the starting elevation, which should be based on the starting elevation of every five boards, to draw a recheck elevation line for subsequent installation checks.
3、Panel Installation
A. Carefully study the construction drawings, according to the construction drawings, to choose a good installation elevation and determine the installation benchmark.
B, according to the construction drawings board number, installation of the starting board and adjustment; the bottom of the starting board (side) relies on the starting bracket fixed, the end of the installation with a level ruler composite board level, measuring side) rely on the starting bracket fixed, the end of the installation with a level ruler composite board level, measuring board installation accuracy ± 2mm. When confirming that the accuracy of the installation is in full compliance with the installation tolerance, self-tapping nails will be fixed to the sub-structures of the exterior wall panels;
C, every installation of 5 rows of external wall panels must be measured once the installation tolerance and adjustments;
D. Cut the exterior wall boards on the spot according to the needs of the building's windows, doors, openings, and corners.
E. Don't forget to remove the polyethylene protective film on the surface after the boards are installed.
F, adjacent to the column spacing between the boards, should check the board seam's straightness and make timely adjustments to avoid the phenomenon of the wrong platform.
4.installations of the corner board
A corner board can be installed after the wall panel installation is completed; it can also be the first installation method with the wall panel while controlling the corner board corresponding to the two walls of the board seam line and the verticality of the joints.
5. The Installation of various types of edging
Edge corresponds to the construction of detailed drawings noted the use of location, the need for secondary processing should be in advance to cut corners or folded edges, in order to protect the cutting edge of the coating, it is best to use scissors to cut.
Lap of hemming: because of the length of the reason, part of the hemming needs to lap, wall flooding cut corners or folded edges; in order to protect the cutting edge of the coating, it is best to use scissors to cut.
Lap joints: because of the length of the reason, part of the edges need to lap, wall flooding waterproof requirements, lap length of 150mm, with two rivets connecting spacing 50~100mm; wall flooding lap 50mm, all with a rivet connecting spacing 50~100mm. The lap position must be wiped clean on the lap surface; film edges must be torn before the film coating!
A wall flooding installation.
When the thickness of the flooding pieces is≥ 0.6mm, the lap position should be made to prevent seam treatment.
Can wall flooding in the position of the sunny corner of the installation method
Installation method of can wall flashing in the position of the yin corner
B. installation of doors, windows, and openings flashing parts
Door and window opening flooding installation, corner position should form a lap mutual construction of waterproofing, as shown below:
The installation order is window flooding, window side flooding, and window flooding.
Doorway flooding installation with the window
C, the installation of the corner of the sun
When the corner of the corner can not be used when the corner board can be used to decorate the corner of the package, the corner of the package by the two support corner and wall panels connected to the requirements of the installation of the size of the support corner and vertical accuracy, corner joints of the gap is best filled with insulation cotton, to ensure that the adiabatic nature of this.
D, the installation of the corner
The corner of the package has two support corners and wall panels connected to the corner of the installation requirements to support the size of the corner and vertical accuracy. The gap between the corner joints is best filled with insulation cotton to ensure the insulation is there.
E, the installation of butt joints
Wall panel butt joint location is generally selected in the column position, and length should not be greater than 12m, but also according to the requirements of the architectural style of compartmentalization. Butt joints must strictly control the gap between the panels; the error is ± 2.0mm to ensure the installation of thermal insulation block sealing and U-shaped package verticality.
V. Precautions
1、After the Material arrives at the site, please check the quantity of each item carefully according to the delivery list, transportation damage, and so on. If you find any missing or damaged items, please check whether they are indicated on the delivery list and notify the supplier immediately.
2、Small materials such as fasteners, connecting pieces, and sealants should be kept in a safe place, preferably locked, to prevent theft.
Three 、Don't use dirty gloves to carry wall panels and install trim, especially aluminum-zinc-plated panels and trim, to prevent stains on the surface of the exterior wall panels and trim, which is difficult to clean and affects the aesthetics.
4. The silicone sealing place should be attached to the surface and wiped clean so that the silicone in the color plate has a good bonding surface; glue joints should be complete and dense so as not to cause water leakage. In the process of installation installation, the wall panel should be avoided from being damaged by collision and friction with scaffolding, columns, and brick walls.
In the process of cutting wall panels on site, the bottom surface of the cutting machine should not be in direct contact with the surface of the color plate, and it is better to pad it with thin plywood. Remove the burrs at the cutting end in time and install it.
The board surface iron chip cleaning: The board surface in the cutting and drilling will produce iron chips, which must be cleaned up in time, not overnight. Iron filings in humid environments will rust, rust spots in the formation of the board surface are verified after the removal, and long-term damage to the paint or even the substrate will be done. Likewise, other excised color plate heads, aluminum alloy rivets pulled off the iron rod, etc., should be cleaned up in time.
5, every day after the completion of the installation work, the site must be left on the day all the debris is cleaned up.

